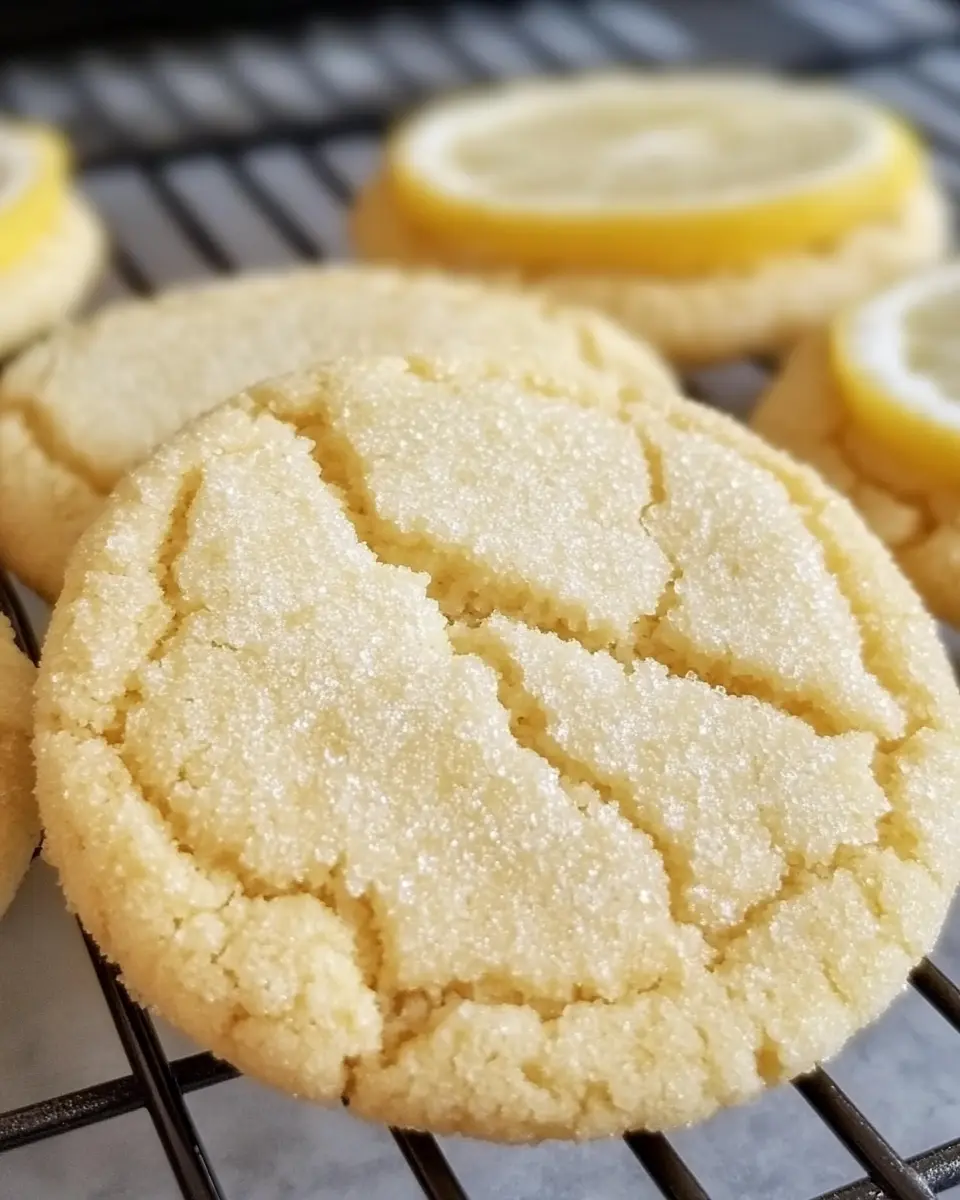
There’s something about lemon desserts that instantly brightens any day. That perfect balance of sweet and tangy, the fresh aroma that fills your kitchen, and the cheerful yellow hue that seems to capture sunshine itself. Today, I’m sharing a recipe that has become an absolute favorite in my household and among friends who constantly request it for gatherings and celebrations my Soft & Chewy Lemon Sugar Cookies.
Introduction to Soft & Chewy Lemon Sugar Cookies
Lemon cookies have a surprisingly rich history that dates back to the early 18th century when citrus fruits became more widely available throughout Europe and eventually America. These cookies were originally considered somewhat of a luxury due to the precious nature of lemons, which weren’t easily accessible to everyone. Traditional sugar cookies themselves have been a staple in American baking since the 1700s, when German settlers brought their “sugar biscuits” to Pennsylvania.
What makes this particular recipe special is the perfect balance it strikes between the classic comfort of a traditional sugar cookie and the bright, zingy flavor of fresh lemons. Unlike many lemon cookies that rely heavily on extract for flavor, these cookies incorporate both fresh lemon zest and juice, giving them an authentic citrus profile that artificial flavorings simply can’t match.
The texture is where these cookies truly shine. They manage to achieve that coveted soft center with slightly crisp edges that makes for the perfect cookie-eating experience. They’re substantial enough to satisfy your sweet tooth but light enough that you’ll find yourself reaching for “just one more” (fair warning: resistance is futile!).
Whether you’re an experienced baker looking to add a new staple to your repertoire or a novice in the kitchen seeking a foolproof recipe that will impress, these Soft & Chewy Lemon Sugar Cookies are about to become your new go-to favorite.
Why You’ll Love These Soft & Chewy Lemon Sugar Cookies
There are countless reasons why this recipe deserves a permanent spot in your baking rotation. Let me share just a few that have made these cookies a beloved favorite among everyone who tries them:
A Symphony of Flavor and Texture
The unmistakable highlight is the vibrant, zesty lemon taste that infuses each mouthful. The generous amount of fresh lemon zest (a full three tablespoons!) infuses the dough with essential oils that carry that distinctive citrus aroma and flavor. Meanwhile, the fresh lemon juice adds an extra dimension of tanginess that perfectly balances the sweetness of the sugar.
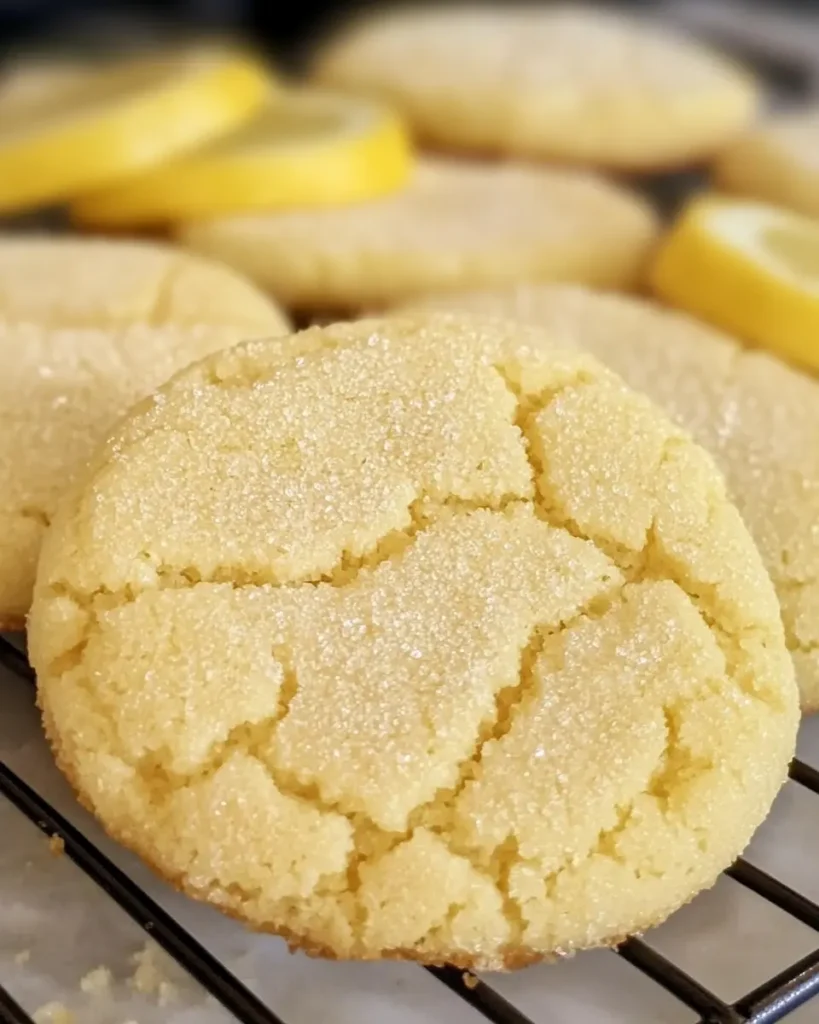
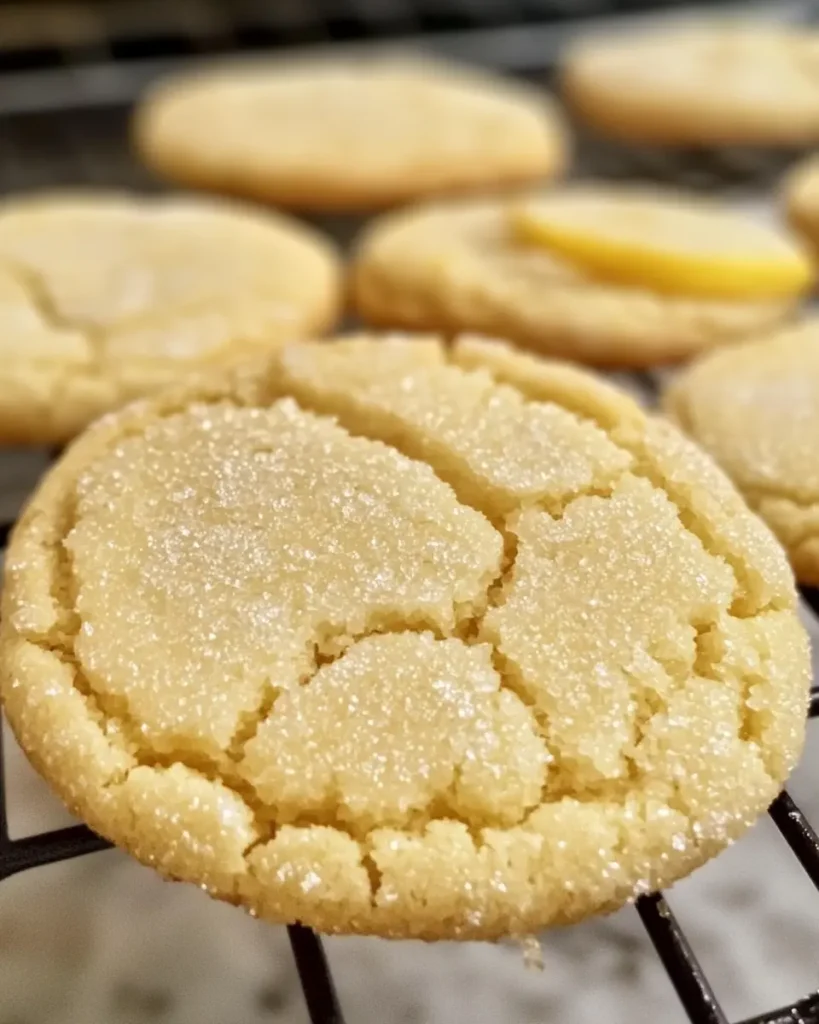
Texturally, these cookies are the stuff of dreams – pillowy soft centers with just enough chew to satisfy, complemented by slightly crisp edges. The sugar coating creates a subtle crackle texture on the outside that gives way to that perfect softness when you bite in. It’s this contrasting texture that elevates them from good to absolutely irresistible.
Year-Round Appeal
While lemon desserts often feel like summer treats, these cookies transcend seasonal boundaries. Their bright flavor is refreshing during warm months, yet the comforting cookie base makes them equally appealing during colder seasons when we all crave a bit of sunshine. They’re light enough for an after-dinner sweet bite but substantial enough to satisfy serious cookie cravings.
Versatility for Any Occasion
These cookies are chameleons when it comes to occasions:
- Casual family dessert? Absolutely.
- Holiday cookie exchange? They’ll stand out among the usual suspects.
- Afternoon tea or coffee break? The perfect companion.
- Gift-giving? Pack them in a pretty box or jar, and you’ve got a thoughtful homemade present.
- Special celebrations? Add some colored sugar sprinkles to match the theme.
Make-Ahead Friendly
The dough can be prepared ahead of time and refrigerated for up to 3 days, or frozen for longer storage. This means you can have fresh-baked cookies whenever the mood strikes, or prepare in advance for events without day-of stress.
Simple Ingredients, Extraordinary Results
Despite their sophisticated flavor profile, these cookies don’t require any specialty ingredients or complicated techniques. Everything you need is likely already in your pantry and refrigerator, with fresh lemons being the only “special” ingredient – and they’re available year-round in any grocery store.
Ingredients for Soft & Chewy Lemon Sugar Cookies
Here’s everything you’ll need to create these citrusy delights:
- 1 cup (226g) unsalted butter, softened – Room temperature butter is crucial for proper creaming with sugar. Take it out about 1 hour before baking.
- 1½ cups (300g) granulated sugar, plus extra for rolling – Provides sweetness and structure. The extra for rolling gives the cookies their signature sparkly finish.
- 3 Tbsp fresh lemon zest (about 2 medium lemons) – This is where most of the lemon flavor comes from, so don’t skimp! Always zest your lemons before juicing them.
- 2 Tbsp fresh lemon juice – Adds tanginess and enhances the lemon flavor. Fresh is essential here—bottled just doesn’t compare.
- 1 large egg – Provides structure and richness. Room temperature eggs incorporate better into the dough.
- 3 cups (360g) all-purpose flour – The main structure of our cookies. Measuring by weight rather than volume will give you the most consistent results.
- 1 tsp baking soda – Helps the cookies rise and contributes to their soft texture.
- ½ tsp baking powder – Works with the baking soda for the perfect rise and texture.
- ½ tsp salt – Brings out the other flavors and offsets the sweetness.
Possible Substitutions and Variations
- Butter alternatives: For dairy-free cookies, you can substitute a high-quality plant-based butter stick.
- Sugar options: While granulated sugar gives the best texture, you can experiment with part brown sugar (up to half) for a slightly deeper flavor profile.
- Citrus variations: This recipe works beautifully with other citrus fruits as well. Try orange, lime, or even grapefruit for a different twist.
- Gluten-free option: A 1:1 gluten-free flour blend can be substituted for all-purpose flour, though the texture may be slightly different.
- Add-ins: For texture and flavor variations, consider adding:
- 1/2 cup white chocolate chips
- 1/3 cup poppy seeds – Adds a subtle crunch and classic texture to lemon poppy seed cookies.
- 1/4 cup finely chopped candied lemon peel
- A teaspoon of dried culinary lavender for a floral note
How to Make Soft & Chewy Lemon Sugar Cookies – Step by Step
Follow these detailed steps for cookie perfection:
Step 1: Preheat & Prep
Preheat your oven to 350°F (175°C). This temperature is ideal for sugar cookies – hot enough to set the edges but gentle enough to keep the centers soft. Line your baking sheets with parchment paper, which prevents sticking and makes cleanup a breeze. If you don’t have parchment paper, you can lightly grease the sheets, though parchment gives more consistent results.
Step 2: Cream Butter, Sugar, and Lemon Zest
In a large bowl, combine the softened butter, granulated sugar, and fresh lemon zest. This step is crucial for incorporating air into the dough and distributing the lemon oils throughout the mixture.
Using an electric mixer (stand or handheld), beat on medium speed for 2-3 minutes until the mixture becomes noticeably lighter in both color and texture. You’re looking for a fluffy, pale yellow consistency. Don’t rush this step – proper creaming is essential for the right cookie texture.
Beating lemon zest with sugar helps release its natural oils, a technique known as “rubbing,” which intensifies the flavor. You can even massage the zest and sugar together with your fingertips before adding the butter for an extra flavor boost.
Step 3: Add Wet Ingredients
Add the fresh lemon juice and egg to your butter-sugar mixture. Mix on medium speed for approximately 1 minute, or until everything is well combined. The mixture may look slightly curdled at first due to the acidity of the lemon juice – this is normal and will smooth out once the dry ingredients are added.
Use a rubber spatula to scrape the sides of the bowl, making sure all ingredients are blended evenly. This prevents unmixed butter from creating inconsistencies in your cookies.
Step 4: Combine Dry Ingredients
In another bowl, combine the flour, baking soda, baking powder, and salt by whisking them together. Whisking these ingredients separately ensures they’re evenly distributed before being added to the wet mixture, preventing pockets of salt or leavening agents in your final cookies.
Step 5: Combine Wet and Dry Ingredients
Gradually add the dry ingredient mixture to the wet ingredients, mixing on low speed just until combined. I recommend adding the flour mixture in three portions, mixing just until the flour disappears before adding the next portion.
Be careful not to overmix once you add the flour, as this develops gluten and can result in tough cookies. The dough should be soft and somewhat sticky when properly mixed.
Step 6: Shape & Roll
Pour some extra granulated sugar into a small, shallow bowl for rolling. Using a cookie scoop or tablespoon, portion the dough into balls approximately 1 inch in diameter (about 1½ tablespoons of dough per cookie).
Roll each dough ball between your palms to create a smooth surface, then roll in the granulated sugar until completely coated. The sugar coating not only adds sweetness but creates that beautiful crackly texture as the cookies bake.
Place the sugar-coated dough balls on your prepared baking sheets, leaving about 2 inches between each cookie. They will spread during baking, so don’t crowd them.
Step 7: Bake to Perfection
Place your baking sheets on the middle rack of your preheated oven and bake for 9-11 minutes. This is a critical timing window – the cookies should look slightly underdone in the centers when you remove them from the oven.
You’re looking for cookies with edges that are just beginning to turn golden while the centers remain soft and puffy. They might even look a bit underbaked in the middle, but they’ll continue to set as they cool.
Step 8: Cool & Set
Allow the cookies to rest on the baking sheet for 5 minutes after removing them from the oven. During this time, they’ll continue to cook slightly from the residual heat and will begin to set up.
Let them sit for 5 minutes, then move them to a wire rack to cool all the way. The cooling rack allows air to circulate around the cookies, preventing soggy bottoms.
Tips for Success
After making these cookies countless times (and learning from a few mistakes along the way), I’ve gathered some insider tips to help you achieve cookie perfection:
Getting the Most from Your Lemons
- When zesting, only take the yellow outer layer of the lemon peel. The white pith underneath is bitter and will negatively affect your cookies.
- Lemons at room temperature produce more juice than when chilled. To extract the most juice, press and roll the lemon firmly on the counter with your palm before slicing.
- Organic lemons are ideal for zesting since you’re using the outer peel.
Perfect Dough Consistency
- If your dough seems too soft to roll into balls, refrigerate it for 30 minutes to firm up.
- Conversely, if your dough seems too stiff, your butter may have been too cold. Let it warm up slightly before proceeding.
- For perfectly uniform cookies, use a cookie scoop to portion the dough.
Baking Wisdom
- Rotate your baking sheets halfway through baking if your oven has hot spots.
- The cookies will continue to set after removing from the oven, so it’s better to slightly underbake than overbake.
- Space your cookies at least 2 inches apart – they will spread during baking.
- For a more pronounced crackly top, gently press the dough balls down slightly with the bottom of a glass before baking.
Storage and Make-Ahead Options
- Keep the baked cookies in a sealed container at room temperature, and they’ll stay fresh for up to 5 days. Adding a slice of bread to the container helps keep them soft.
- You can refrigerate cookie dough for up to three days before baking. Let it sit at room temperature for about 15 minutes before scooping and rolling.
- You can freeze cookie dough balls (before coating them in sugar) for up to 3 months. Thaw in the refrigerator, roll in sugar, and bake as directed, adding 1-2 minutes to the baking time.
Flavor Enhancements
- For an extra lemon punch, add 1/4 teaspoon of lemon extract along with the fresh juice.
- You might want to drizzle a basic glaze of powdered sugar and lemon juice for extra tang and a touch of visual charm.
- A sprinkle of coarse sugar on top just before baking adds extra crunch and sparkle.
FAQ for Soft & Chewy Lemon Sugar Cookies
Can I make the dough ahead of time?
Absolutely! The dough can be refrigerated for up to 3 days in an airtight container. When ready to bake, let it sit at room temperature for about 15 minutes to soften slightly before scooping and rolling in sugar. You can also freeze the shaped dough balls for up to 3 months – just thaw in the refrigerator overnight before rolling in sugar and baking.
How do I know when the cookies are done baking?
The cookies should be removed from the oven when the edges are just beginning to turn golden but the centers still look slightly underdone. They will firm up as they cool on the baking sheet. If you wait until they appear fully baked in the oven, they’ll become overcooked and crispy instead of staying soft and chewy.
Is it possible to substitute bottled lemon juice for fresh juice?
I strongly recommend using fresh lemon juice for the best flavor. Bottled lemon juice often has preservatives and a more muted flavor profile. Since this recipe only requires 2 tablespoons of juice (about one lemon’s worth), it’s worth using fresh for the vibrant flavor it provides.
My cookies spread too much during baking. What went wrong?
Several factors can cause excessive spreading:
- Butter that’s too warm or partially melted
- Not enough flour in the dough
- Oven temperature that’s too low
- Greased cookie sheets instead of parchment paper
Try chilling your dough for 30 minutes before baking, make sure your oven is fully preheated, and check that you’ve measured your flour correctly.
Can I make these cookies gluten-free?
Yes! Replace the all-purpose flour with a 1:1 gluten-free baking flour blend that contains xanthan gum. The texture may be slightly different, but they should still be delicious. Some gluten-free flours absorb more moisture, so you might need to reduce the flour by 2-3 tablespoons.
How can I enhance the lemon flavor if it’s not strong enough?
- Add an additional tablespoon of lemon zest
- Include 1/4-1/2 teaspoon of lemon extract
- Add 1/2 teaspoon of lemon oil (food-grade)
- Finish with a lemon glaze made by combining powdered sugar and fresh lemon juice.
Can I freeze the baked cookies?
Yes! Once completely cooled, place the cookies in a single layer on a baking sheet and freeze until solid (about 1 hour). Next, place them in an airtight container or freezer bag, adding parchment paper between each layer. They’ll keep for up to 3 months.
How do I keep my cookies soft for days after baking?
Store them in an airtight container with a slice of bread, which helps maintain moisture. Replace the bread slice when it becomes hard. Additionally, don’t overbake the cookies – they should look slightly underdone in the centers when you remove them from the oven.
Can I add white chocolate chips or other mix-ins to this recipe?
Absolutely! Up to 1 cup of mix-ins works well with this dough. White chocolate chips, dried cranberries, or poppy seeds are all delicious additions that complement the lemon flavor beautifully.
Conclusion for Soft & Chewy Lemon Sugar Cookies
These Soft & Chewy Lemon Sugar Cookies have become my signature bake for good reason. They strike that perfect balance between familiar comfort and unexpected brightness that makes them universally appealing. The simplicity of the ingredients belies the complexity of flavor, making them accessible to bakers of all skill levels but impressive enough for special occasions.
I encourage you to make this recipe your own – perhaps add a hint of lavender for a floral note, or incorporate white chocolate chips for pockets of creamy sweetness. The beauty of a great base recipe is its adaptability, and these cookies provide the perfect canvas for your creativity.
When life hands you lemons, skip the lemonade and bake these cookies instead! I’d love to hear how they turn out for you, and what variations you might try. Share your baking adventures in the comments below, or tag me in your cookie photos on social media.